napari-roidynamics#
This napari plugin was generated with Cookiecutter using @napari’s cookiecutter-napari-plugin template.
Plugin to use the python package ‘roidynamics’ within napari.
The roidynamics package provides interesting tools to analyze the dynamics of intensity in time-lapse images split into regions of specific geometries.
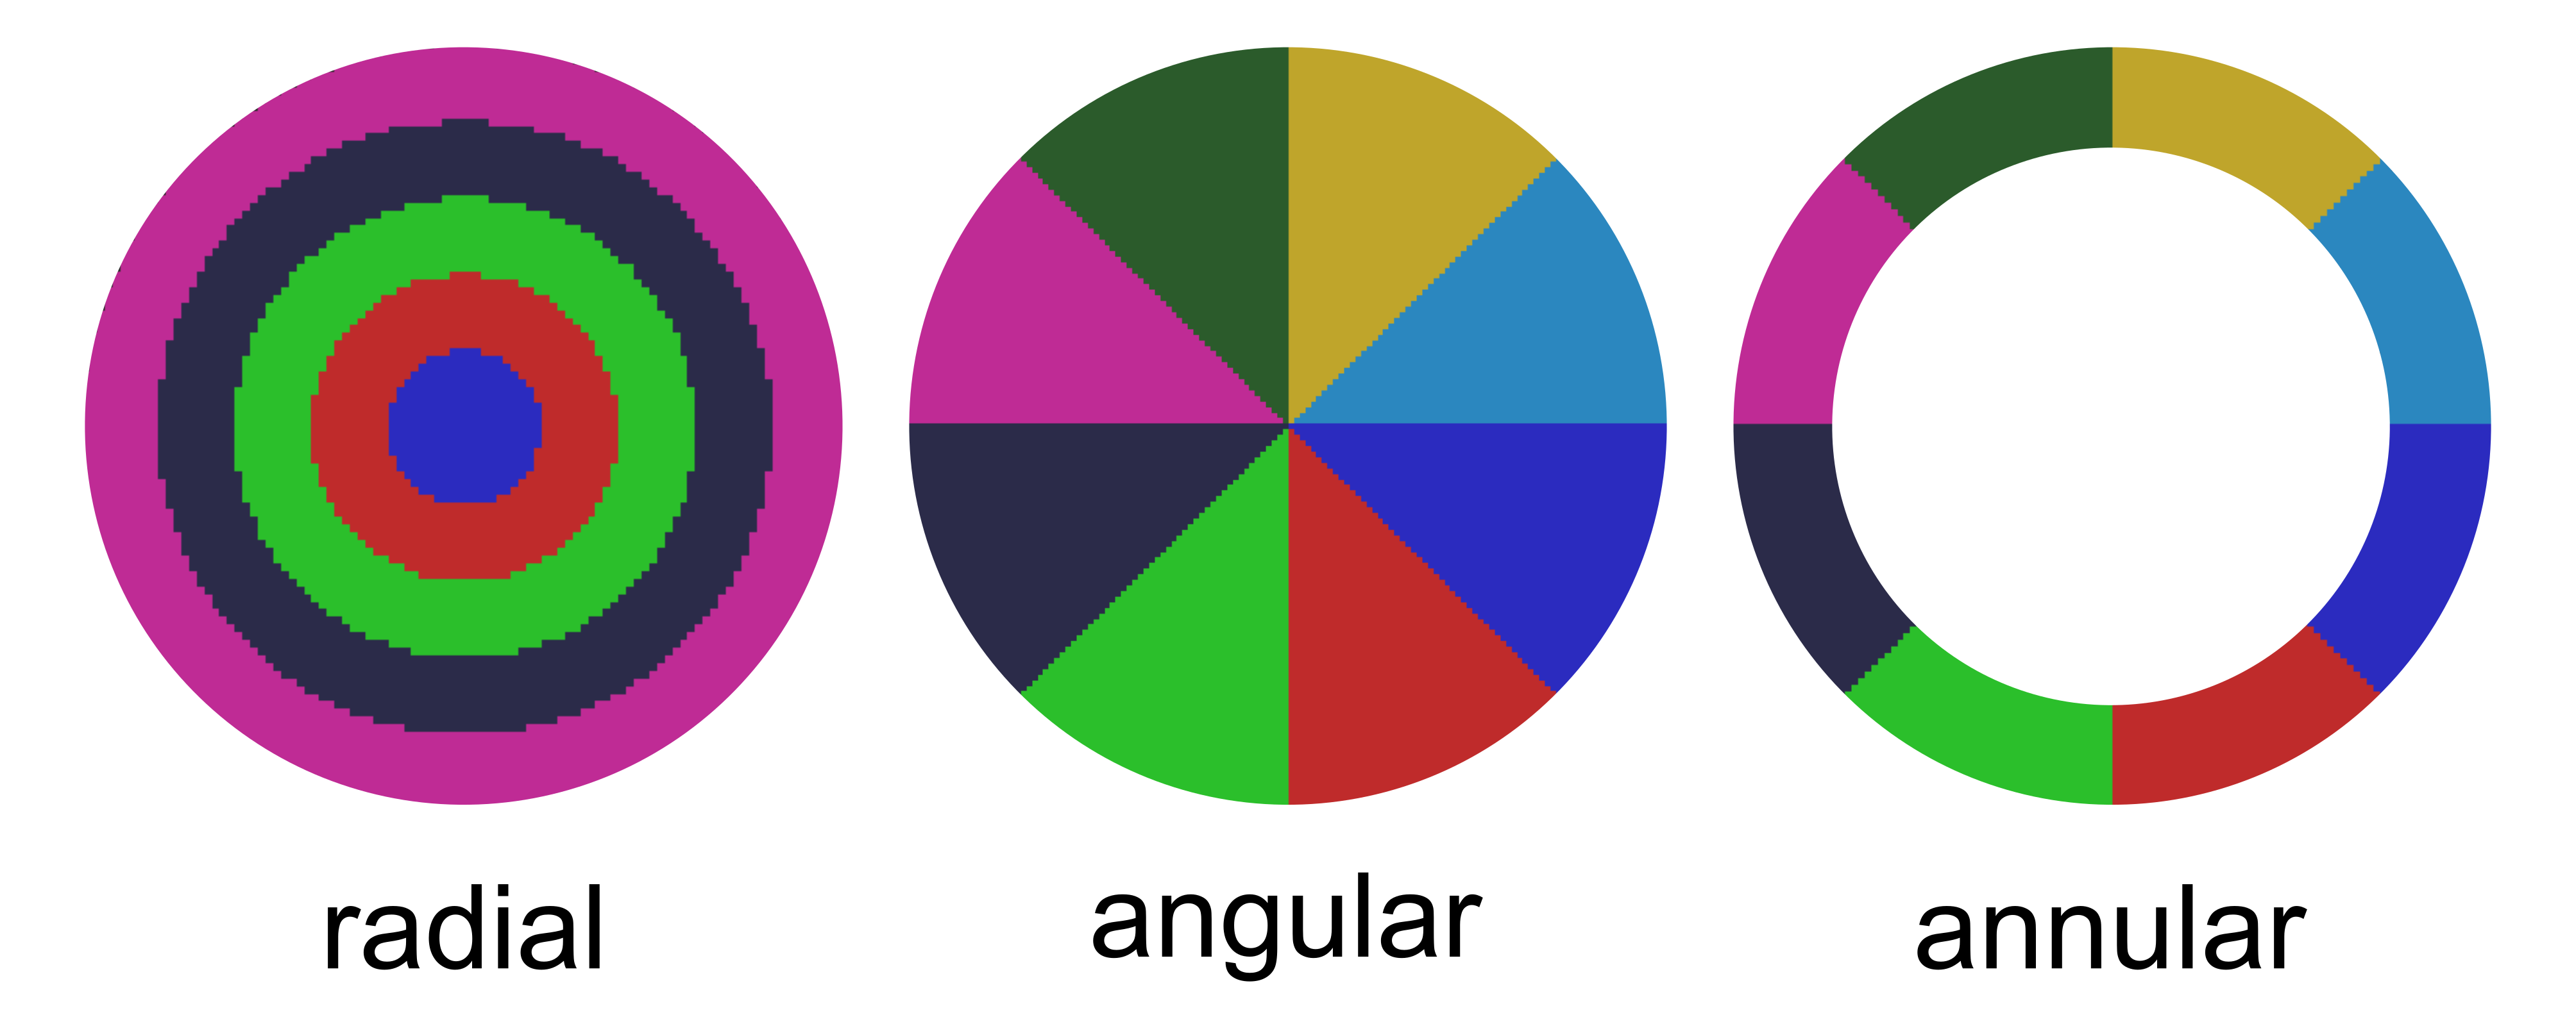
Here we have wrapped the roidynamics functions into an easy-to-use napari plugin, which enables to interactively setup points of interest, which are used to generate masks of different geometries. In the current version you can select three different geometries:

We also allow to combine one of these three masks with any user-defined shape. This increases the flexibility of the plugin. However, if you wish to see a new shape please file an issue.
These specific masks are then used to measure intensity on different channels of the time-lapse images. The intensity data can be viewed in napari or saved as plots and csv data along with the masks.
Installation#
Install napari-roidynamics in a python environment where you have pre-installed the python viewer napari!
If you don’t have a python environment yet, follow the example below, which uses a package manager called mamba. We suggest using Mamba because is faster, but a conda environment manager is a valid alternative. If you use conda, you will need to use the example below writing “conda” instead of “mamba” in the command line.
Alternatively, explore the different options illustrated on the napari installation website.
If you are not familiar with this topics we suggest reading the BiAPoL blog post about mambaforge & python.
First create a python environment containing napari#
After installing mamba, execute these three commands in your terminal(OS) or command prompt.
mamba create -y -n napari-roidynamics -c conda-forge python=3.9
mamba activate napari-roidynamics
mamba install -c conda-forge napari pyqt
In this example, with the first command you create a new environment called ‘napari-roidynamics’ (this is only an exemplar name, you can assign the name that you prefer to this new environment).
In the same first line of code you also install python 3.9 from conda-forge.
Then you activate the newly created environment and finally you install napari and pyqt from conda-forge in this environment.
At this stage we suggest testing if the napari installation works, before proceeding with installing napari-roidynamics. To do so, after making sure that the newly created environment is actives, simply write napari in the terminal and execute it. A napari window should open.
If you don’t remember the name of your environment you can always use the command:
mamba env list
Install napari-roidynamics#
In the new environment with napari correctly running, now you can install the napari-roidynamics plugin.
stable version from pip:#
pip install napari-roidynamics
latest development version from GitHub:#
pip install git+https://github.com/StojiljkovicVetAna/napari-roidynamics.git
Use napari-roidynamics#
If the installation was successful, you will be able to use napari-roidynamics from your new environment. Make sure that the environment is active and type napari in the terminal, the napari GUI should appear. From the GUI you should navigate to Plugins/Dynamics(napari-roidynamics) to open the plugin.
Detailed instructions for the plugin are provided in the step-by-step guide.
License#
Distributed under the terms of the BSD-3 license, “napari-roidynamics” is free and open source software
Issues#
If you encounter any problems, please file an issue along with a detailed description.


